What Happens During a Professional Ceramic Coating Installation?
You've decided to protect your vehicle with ceramic coating. Great choice. But what actually happens when you drop off your car for ceramic coating installation? The process involves more than just wiping on some product and sending you home. Professional installation follows specific steps that determine how well the coating performs and how long it lasts.
Understanding the process helps you appreciate why professional installation matters. It also sets realistic expectations for what's involved when you book an appointment. Let's walk through exactly what happens from the moment your vehicle arrives until you drive away with a protected finish.
At Top Notch Tint & Detail+, we follow a methodical approach to every ceramic coating installation. Each step builds on the previous one, and skipping steps compromises results. Here's what the process looks like.
Vehicle Inspection and Assessment
Every professional ceramic coating installation starts with a thorough inspection. Before any work begins, your vehicle gets examined under proper lighting to assess its current condition.
This inspection reveals what we're working with. Are there existing swirl marks that need addressing? Surface contamination bonded to the paint? Areas of oxidation or clear coat damage? Minor imperfections that will be magnified once coating goes on?
The inspection matters because ceramic coating doesn't hide problems. It bonds to whatever surface exists underneath. If your paint has issues before coating, those issues remain visible after coating. They might even look more noticeable because the coating adds gloss and clarity.
During inspection, we also note any existing damage that coating won't fix. Deep chips, significant clear coat failure, or areas needing paint repair get identified upfront. This way, you know exactly what to expect from the finished result.
Initial Wash and Contamination Removal
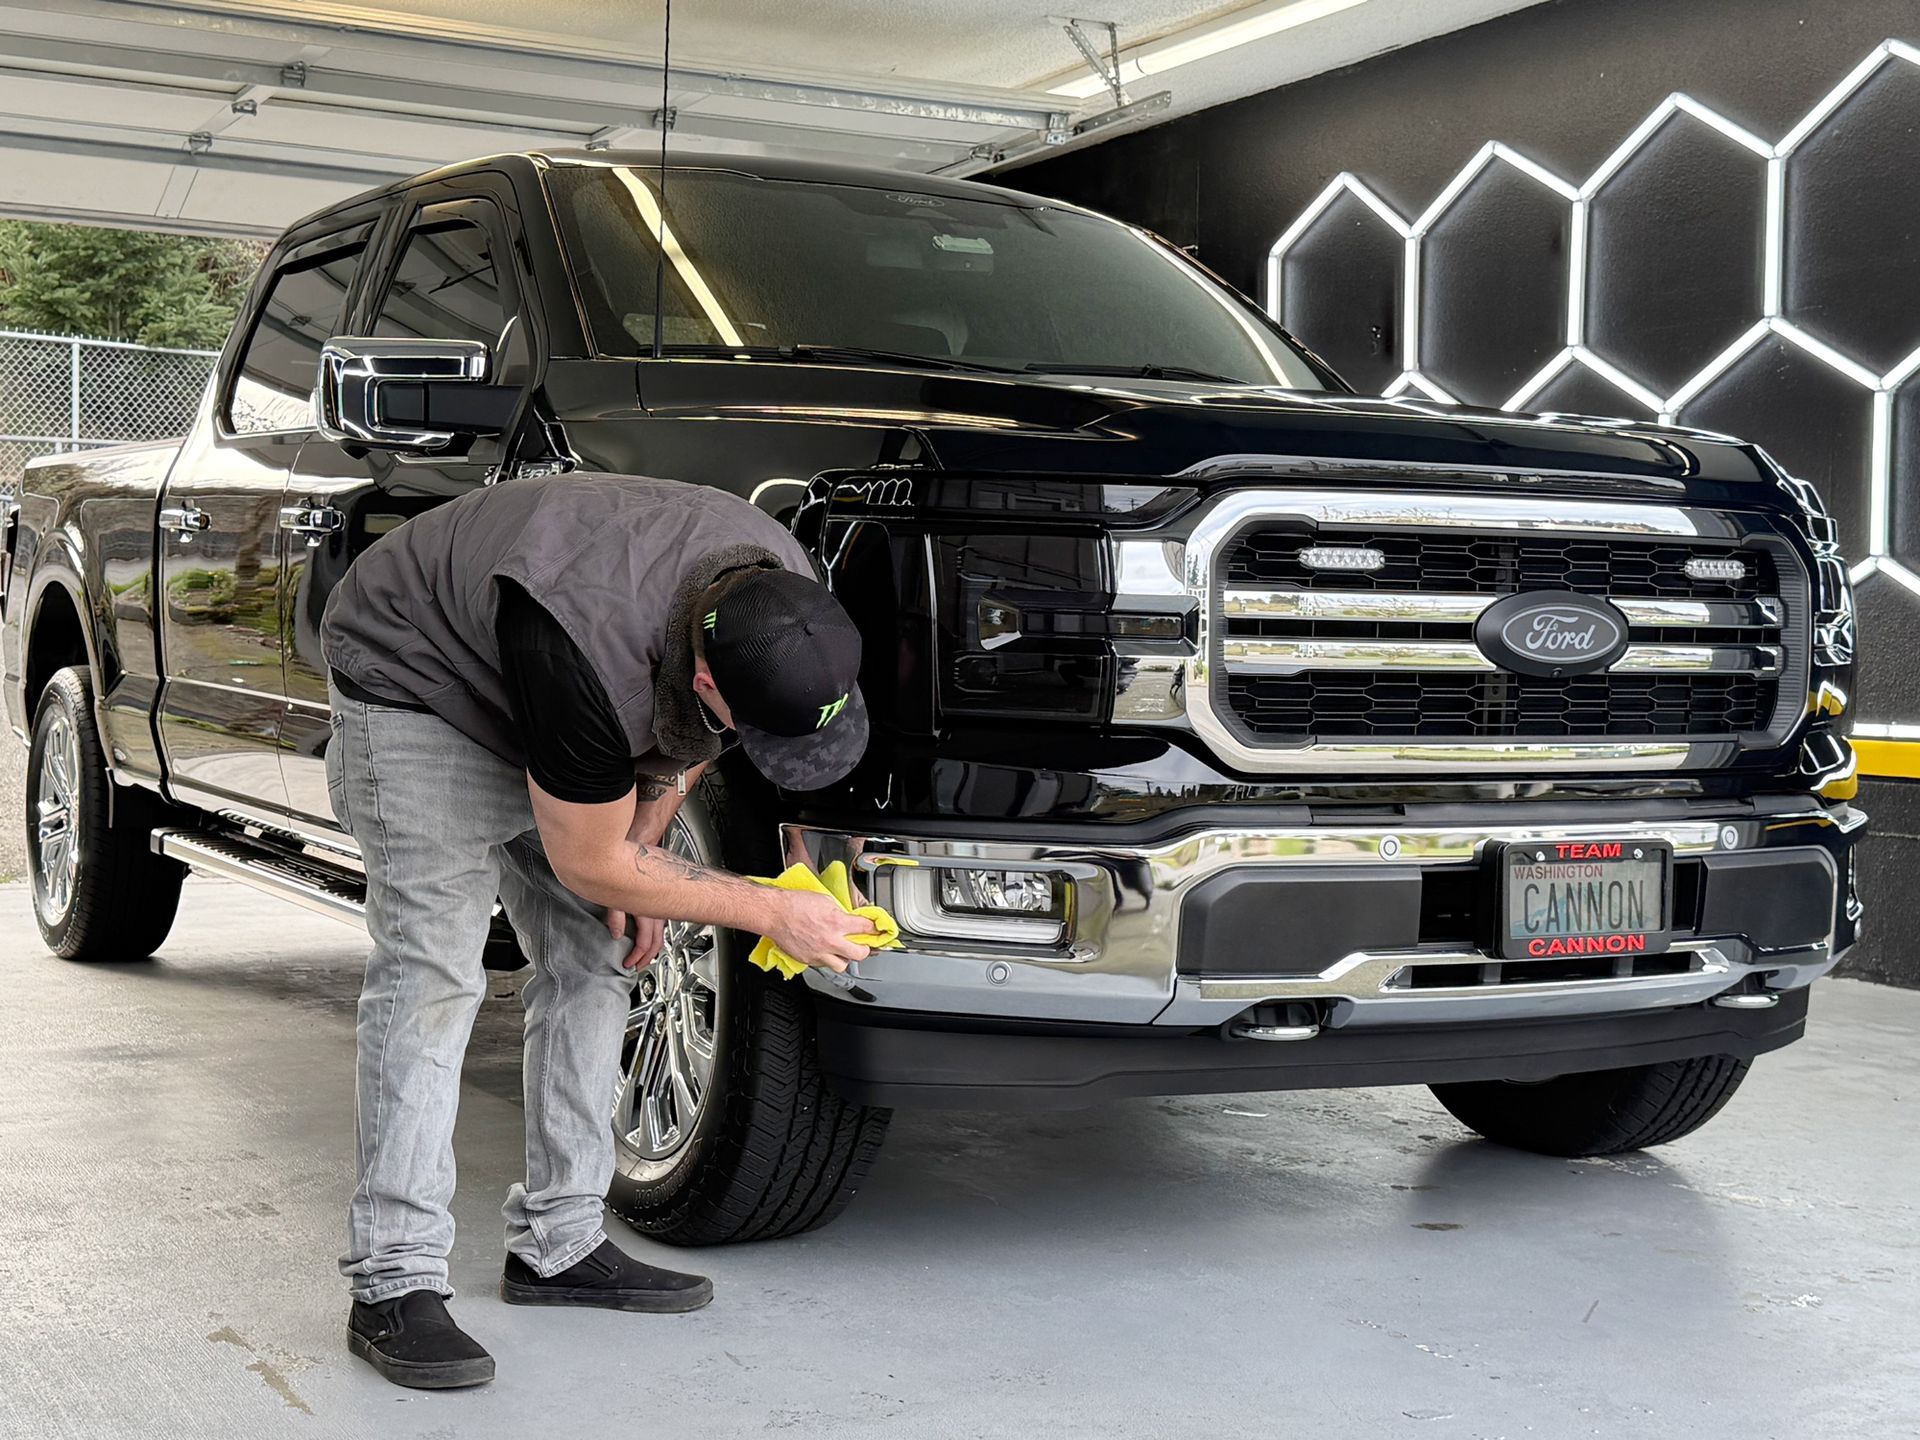
The first hands-on step in ceramic coating installation is a thorough wash. But this isn't a quick rinse at the car wash. Professional washing for coating prep goes much deeper.
We start with a foam cannon pre-wash to loosen surface dirt and debris. This prevents dragging contaminants across the paint during the contact wash. Then comes a careful hand wash using proper techniques and quality products.
After washing, the vehicle gets dried completely. Any water left on the surface can interfere with later steps. We use clean microfiber towels and air blowers to eliminate moisture from every crevice and gap.
But washing alone doesn't remove everything. Bonded contaminants like industrial fallout, tree sap residue, rail dust, and environmental deposits stick to paint even after thorough washing. You can't see them, but you can feel them. Run your hand across washed paint and it often feels rough or gritty. That's contamination.
p[
Clay Bar Decontamination
Removing bonded contaminants requires mechanical decontamination. This step in the ceramic coating installation process uses clay bar or clay mitt to pull embedded particles from the paint surface.
The clay glides across lubricated paint, grabbing contaminants as it passes. You can actually see the contamination transferring to the clay. It's often surprising how much comes off even recently washed vehicles.
This step matters enormously for coating adhesion. Ceramic coating needs to bond directly with clean clear coat. Contaminants sitting between the coating and paint create weak spots where the coating won't adhere properly.
After claying, the paint should feel glass-smooth when you run your fingers across it. No roughness, no texture, just perfectly slick paint ready for the next step.
Paint Correction and Surface Preparation
Here's where ceramic coating installation diverges based on your vehicle's condition and your goals. Paint correction addresses imperfections in the clear coat before coating locks everything in place.
Remember what we said earlier? Ceramic coating adheres to the existing paint surface. It doesn't fill, hide, or correct existing damage. If your paint has swirl marks, water spots, light surface marring, or oxidation, those stay visible under the coating unless corrected first.
Paint correction uses machine polishing to remove a thin layer of clear coat, eliminating surface defects. The polishing process levels the paint, removing the peaks and valleys that create visible imperfections. What remains is smooth, defect-free clear coat.
Not every vehicle needs extensive correction. New cars with minimal defects might only need light polishing. Older vehicles with significant accumulated damage might need multiple correction stages. The inspection at the beginning helps determine what level of correction your vehicle requires.
This step takes time. Proper paint correction can't be rushed. Each panel gets worked methodically until the surface meets standards. Cutting corners here means coating over defects that remain visible under the finish.
Panel Preparation and Wipe Down
After correction, surfaces need final preparation before ceramic coating installation begins. Even after polishing, residue remains on the paint that would interfere with coating adhesion.
We use isopropyl alcohol or dedicated panel prep solutions to wipe every surface. This removes polishing oils, residual compounds, and any remaining contamination. The surface must be completely bare and clean for proper coating bond.
This step also provides one final inspection opportunity. Under proper lighting, we check that correction achieved the desired results and surfaces are truly ready for coating.
The vehicle should look incredible at this point. Clean, corrected, and ready. But without coating, that finish remains vulnerable. The next steps protect everything we've accomplished.
Ceramic Coating Application
Now comes the actual ceramic coating installation. The coating itself is a liquid product applied to prepared surfaces where it chemically bonds with the clear coat.
Application requires controlled conditions. Temperature and humidity affect how the coating behaves. Professional installers work in controlled environments where these factors stay consistent throughout the process.
The coating gets applied panel by panel using applicator pads. A thin, even layer goes onto each section. Too much product creates problems. Too little leaves gaps in protection. Proper application requires training and experience.
We use Ceramic Pro products because the formulation and performance are proven. Professional-grade coatings differ significantly from consumer products in terms of durability and bonding strength.
ytty
Leveling and Evening the Coating
Shortly after application, the coating needs leveling. This step in ceramic coating installation ensures even coverage without high spots, streaks, or uneven thickness.
Using clean microfiber towels, the installer wipes the coated surface in a specific pattern. This evens out the product and removes excess before it begins curing. Timing matters here. Wait too long and the coating becomes difficult to level. Move too quickly and you remove product that hasn't had time to bond.
Each panel gets leveled before moving to the next. The process continues systematically across the entire vehicle. By the time application finishes, every coated surface has been properly leveled and inspected.
Curing Time and Process
Ceramic coating doesn't achieve full hardness immediately. The curing process during ceramic coating installation takes time, and conditions during curing affect final results.
Initial curing happens relatively quickly. The coating reaches a state where it's no longer easily disturbed. But full chemical curing, where the coating achieves maximum hardness and durability, takes longer.
During the initial cure period, the vehicle stays protected in a controlled environment. Dust, moisture, and environmental exposure can affect curing coatings. Professional installers manage these conditions carefully.
You'll receive specific instructions about caring for your vehicle during the extended cure period after you take it home. Following these instructions ensures the coating achieves its full potential.
Why Preparation Matters More Than Application
Understanding the ceramic coating installation process reveals something important. Most of the work happens before coating ever touches your paint.
Vehicle inspection, washing, decontamination, and paint correction consume far more time than actual coating application. This preparation is where results are actually determined.
Think of it like painting a wall. You can use the best paint available, but if you apply it over dirty, damaged drywall, results suffer. The same principle applies to ceramic coating. The coating is only as good as the surface underneath it.
Professional installers dedicate significant time to preparing surfaces because they understand this relationship. Rushing preparation or skipping steps creates problems no amount of coating can overcome.
What to Expect When Booking
When you schedule ceramic coating installation with Top Notch Tint & Detail+, understand that the process requires adequate time depending on your vehicle's condition and the level of correction needed.
We'll discuss your vehicle's current state during booking. If significant paint correction is required, we'll explain what that involves and how it affects timing. No surprises, just clear communication about what your vehicle needs.
The investment in proper ceramic coating installation pays off through performance and longevity. Coatings applied to properly prepared surfaces bond correctly and deliver the protection and appearance you expect.
Ready to protect your vehicle with professional ceramic coating? Get in touch and let's discuss what your vehicle needs and what results you can expect.
FAQ: Ceramic Coating Installation
How long does professional ceramic coating installation take?
The process requires adequate time to complete properly. Most time goes into preparation including washing, decontamination, and paint correction. Actual coating application is relatively quick, but proper preparation cannot be rushed without compromising results.
Why is paint correction done before ceramic coating?
Ceramic coating adheres to the existing paint surface beneath it. It doesn't hide or correct existing defects like swirl marks, water spots, or oxidation. Paint correction removes these imperfections before coating, ensuring the finished result looks flawless rather than locking in visible damage.
Can I drive my car immediately after ceramic coating installation?
You can drive home after the initial cure period, but the coating continues curing for an extended period. You'll receive specific care instructions including avoiding washing and certain exposures during this time. Following these instructions allows the coating to achieve full hardness.
What makes professional installation different from DIY ceramic coating?
Professional installation includes thorough preparation, controlled application conditions, quality products, and proper technique. Each step affects how well the coating bonds and performs. DIY products and application often skip critical preparation steps, resulting in inferior bonding and shorter protection life.